
Hello all! :)Hope you're all well.
Right, who remembers the post "Dress sorted, Make-up Look?"
For those who haven't seen it Here's the link!
Unfortunately, the birthday girl was a little poorly over the weekend *Lots of love to you missy*
So we didn't go out in the end. However, I am going to show you what I would have done Make-up wise if i had gone out.
* Remember, I'm not a beauty blogger, this won't be a perfect make-up tutorial hehe*


Right, who remembers the post "Dress sorted, Make-up Look?"
For those who haven't seen it Here's the link!
Unfortunately, the birthday girl was a little poorly over the weekend *Lots of love to you missy*
So we didn't go out in the end. However, I am going to show you what I would have done Make-up wise if i had gone out.
* Remember, I'm not a beauty blogger, this won't be a perfect make-up tutorial hehe*

For this look, I used;
- Urban Decay VOL II Palette
- Accessorize Eyeshadow Palette
- MAC 'Up the Amp' Lipstick
- Nars 'Orgasm' Blush
- Urban Decay Primer Potion
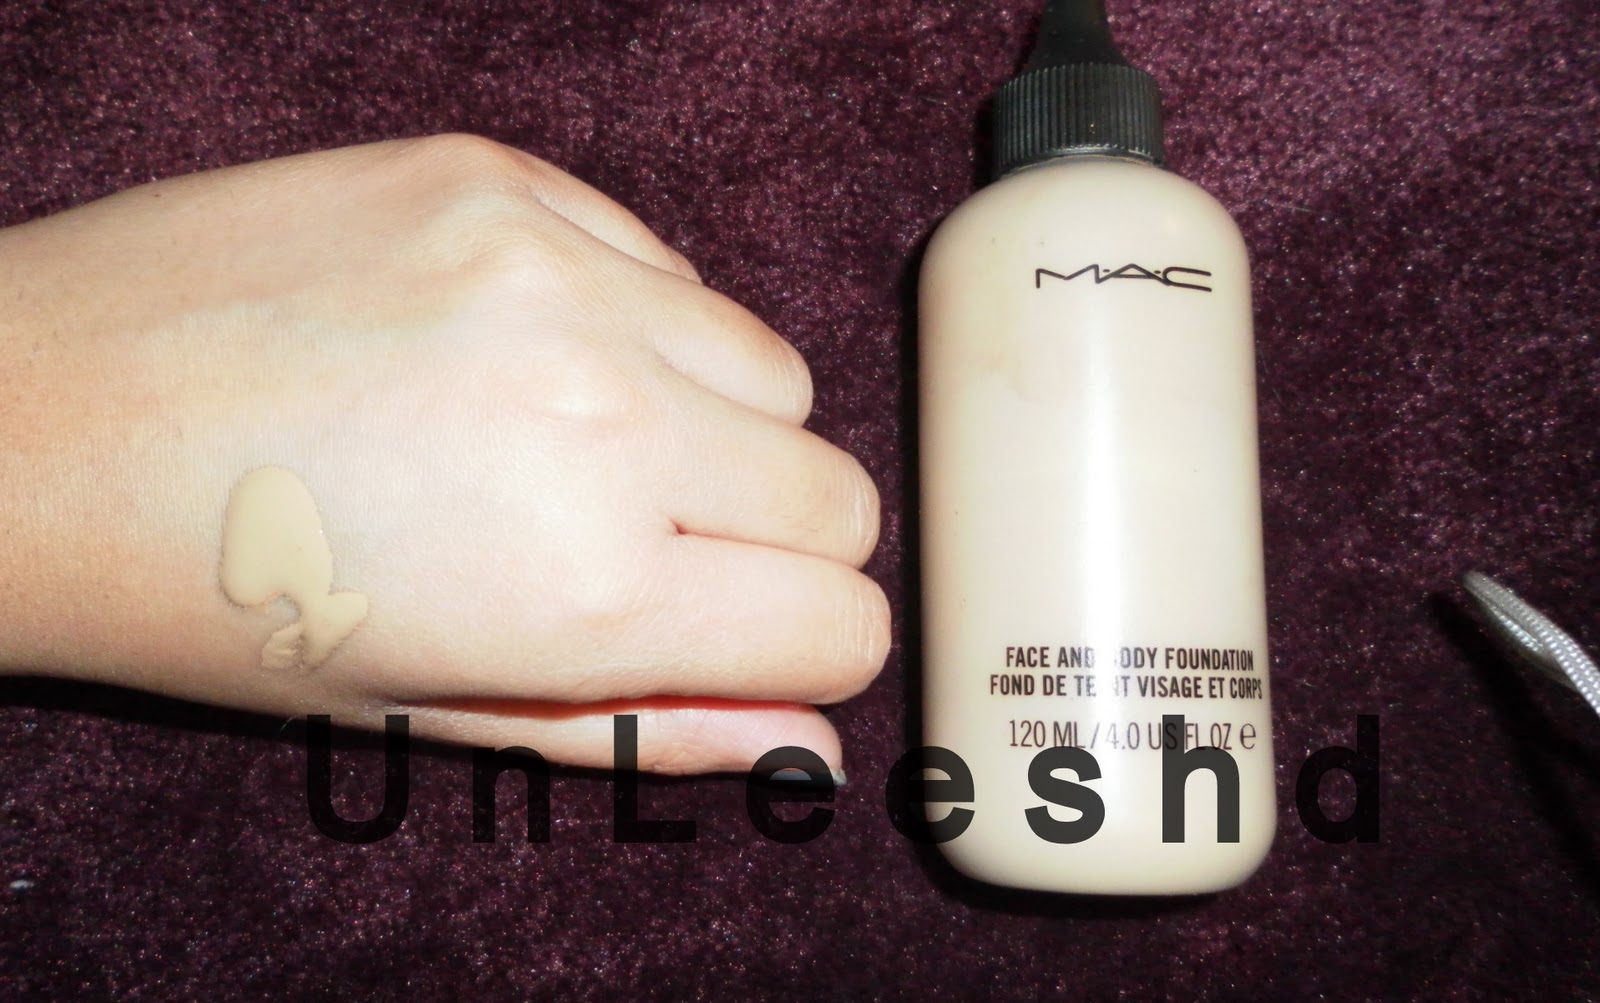
- MAC Face & Body Foundation (C5)
- Bobbi Brown 'Black Ink' Gel Liner
- Benefit 'IT' Stick
- Vaseline :)
So I started off with a moisturized face. Using 'Astral' (I mentioned this amazing cream in Part 1). I then went over it with MAC Face & Body Foundation. Look at the amount I used. So worth every penny!
I used the Benefit IT stick to cover up any blemishes etc.
 |
| This is all i needed for the full face (inc neck!) |
 |
| Ready for eyeshadow, blush & lipstick |
*Before applying the rest of the make-up. I put a little bit of Vaseline on my lips. I'll explain why later*
I used a little Urban Decay Primer Potion first (Its amazing! as a lot of you already know! Makes the make up last ages without any annoying creases.)
For the look I wanted, I started off using a lovely Silverish/Grey shade from the Accesorize palette.
I put this on the eye first. I only needed a light layer.
After applying a layer of this shade, I then went onto the Urban Decay VOL II Palette. I love this palette, I bought it for about £25 (Staff Discount ;) It has lasted ages. Again, definitely worth every penny!
 |
| Light Silver/Grey shade. |
I put this on the eye first. I only needed a light layer.
After applying a layer of this shade, I then went onto the Urban Decay VOL II Palette. I love this palette, I bought it for about £25 (Staff Discount ;) It has lasted ages. Again, definitely worth every penny!
 |
| I used 'Gunmetal' which is a lovely Charcoal Grey shade. |
I used the MAC 217 Blending Brush to blend The 'Gunmetal' eyeshadow into the Light Silver/Grey. You will eventually end up with this
 |
| Both colours, Blended well. To finish the eyes off, just go over it with a Black Gel/Liquid Liner. I'm a big fan of Bobbi Brown 'Black Ink' Gel liner. On to the lips, earlier I mentioned putting Vaseline on my lips before I even started on my eyes. The reason I did this is so that the lips are soft, ready for the lipstick. If you were to put Vaseline on just before the Lipstick, The lipstick wouldn't have the same effect. It would look too shiny & oily. You'll find that by the time you've done your eye make-up. Your lips will have the tiniest amount of Vaseline on them, and be as soft as anything. Ready for the gorgeous Lipstick :) I used this lovely colour by MAC 'Up the Amp' Its a mix of Hot Pink and a hint of Purple. Stunning! |

I put the tiniest amount on and thought it looked amazing! I love this shade.
 |
| Straightened the hair as it has grown loads :) |
 |
| Eye Make-Up Shot! |
I loved reading your ideas on what i should do for this dress. Did i make a good choice?
I hope you guys have enjoyed reading this as much as i've enjoyed writing it <3
Hit me up on Twitter @UnLeeshd or on Facebook or on here & Let me know what you think!
Lots of love Leesh of UnLeeshd x x x


